The Radio Control Club of Detroit
An AMA Gold Leader Club |
The Radio Control Club of Detroit
|
|
|---|
| AMA Chapter # 368 | An AMA Charter Club Since 1953 |
IMAA Chapter #206 |
Schedule |
|||||||||
Events Only |
News Archive |
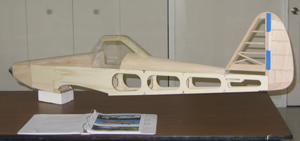
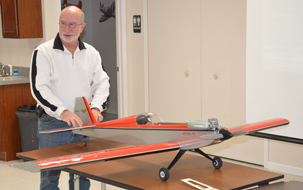
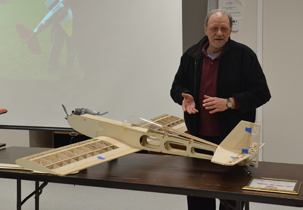
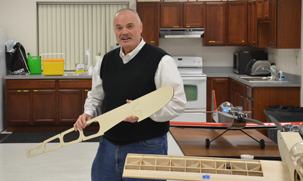
RCCD 2012 Scratch Build Project
General Project Pictures & Information
|
|
|||||||||||||||
Project News (updates will be posted here): 2/6/12: ELEVATOR CONNECTOR. There has been some discussion regarding the installation of the wire connector that connects the right hand elevator to the left hand elevator. It was mentioned in the discussion, that the ends of the connector may not be perfectly flat to each other, and a word of caution probably should be issued to the builders when installing the connector wire. Please note: The purpose of the connector wire is to connect both halves of the elevator so they are positioned flat to each other and in line with the horizontal stabilizer's surface and trailing edge. This wire connector also allows both halves of the elevator to move in unison with each other. There are a number of variables to consider when installing the "U" shaped wire elevator connector. The holes that are to be drilled in the leading edge of the elevator halves and the ends of the "U" shaped wire connector must be in perfect alignment. Even if the ends of the wire connector are dead flat and the 90 degree bends are perfect, the holes drilled in the elevator also have to be dead on dimensionally and 90 degrees to the leading edge and parallel to the surface of the elevators to make everything work in the 'perfect world'. Unless you are drilling the holes using a drill press and clamping the surface of the elevator halves 90 degree to the table of the drill press and the leading edge of the elevator halves parallel to the table, the holes will be out of position unless you have luck on your side. If you are drilling the holes in the elevator halves by hand, chances are your holes will be out of alignment to the elevator connector that may perfect in shape. The solution to this situation, is to use a little bit of mechanical common sense. It should be up to the individual builder to compensate or adjust the elevators to be flat and true to the trailing edge and surface of the horizontal stabilizer. This alignment compensation can be accomplished by bending or twisting the ends of the wire connector and double checking the flatness and fit to the horizontal stabilizer, while all the parts (horizontal stab and the two elevator halves) lay flat on your work table. It may take a couple of trial fits (and a few dirty words) to accomplish the alignment, but it definitely can be done. I believe the original instructions for the four star also relied on the builder to use his/her discretion to line up the elevators. The original plans and the instruction booklet regarding the connector simply states: "Use the plans to mark the elevators for the position of the 1/8" diameter music wire elevator jointer. Drill and groove the leading edges to accept the elevator jointer. Sand the jointer wire and wipe it clean before gluing it to the elevators with KWIK-SET epoxy. Keep the leading edges of both elevators aligned as the glue cures". I hope this clarifies any alignment issue.
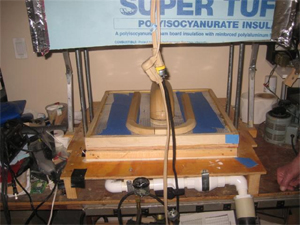
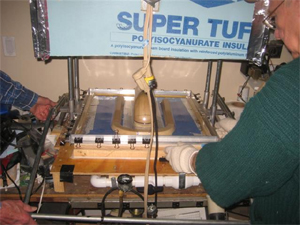
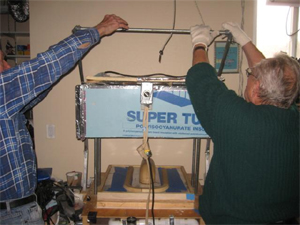
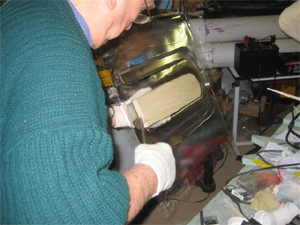
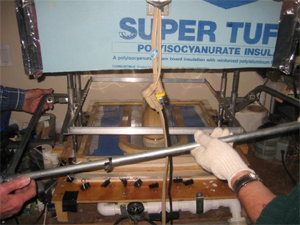
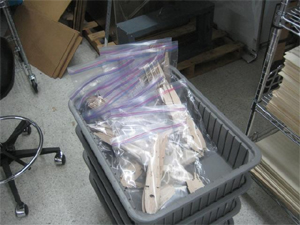
1/18/12: Important Warning: 12/9/11: Hello Fellow Builders, 12/1/11: There is a slight revision to the instructions 11/30/11: Great news! The kits are finally ready. We will have them available at tomorrow's meeting, Dec 1st. Hope to see you there. George Snapshot 11/28/11: The vac formed canopies are coming along. We have 43 formed & rough trimmed. Tomorrow we are meeting at Joe's to inspect, re-trim, and package them. If there are some that need replacing, Norm is on standby to make the replacements.
Attached are several pictures showing the vac form operation taken at Norm's house.
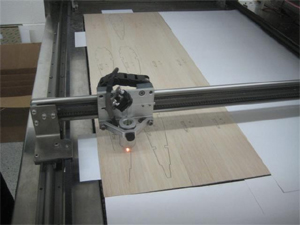
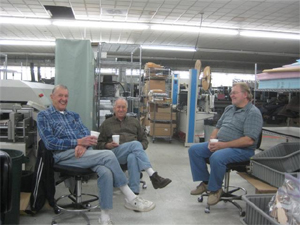
11/27/11: The gang spent a lot of time with Peter Van at his plant over this holiday week end, watching (or should I say, working) the laser cutting operation. Had a great time solving the world's problems and watching the smoke rise from the hot job (club project plane) being cut. Peter was a gracious host, but he makes a "mean cup of coffee". We were all very good on this project so far, we stayed away from the doughnuts. Rattlesnake
11/25/11:
CANOPY DEVELOPMENT & TOOLING.
Take a look at the development and carving of the canopy plug. Nov 22, 2011
|
||||||||||||||||
njh

.jpg)
.jpg)
.jpg)
.jpg)
.jpg)
.jpg)