|
|
|
|
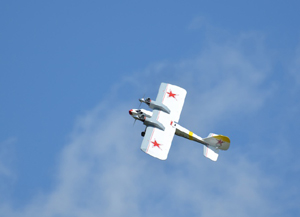
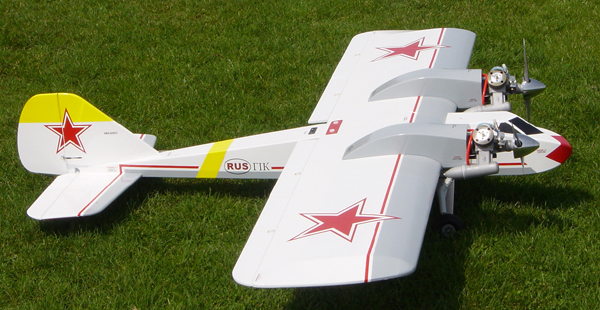
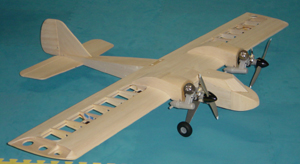
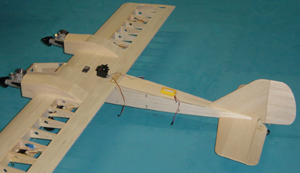
Name: RUSTIK or
ДАС AГЛИ СТИК
............(DAS UGLY STIK
in Russian (Cyrillic) characters)
Engine: Various - for engine break-in & test bed
Starting with a twin-engine layout. (2 Norvel .40s)
Radio: Futaba 10C, using 8 channels
Battery: A-123
Wing Span: 70 "
Final Weight: - 7 1/2 LBS (twin configuration)
Significant mod's:
Optional single or twin engine
Moved the Horizontal stab 1" rearward
Moved the vertical stab 2" rearward
Sheeted frame horizontal and vertical stabilizers
Flaps
Tail dragger
Pull-pull rudder
|
04/24/11: Maiden flight. No trim required - none - nothing - zilch - on the RUSTIK's maiden today. It flew really well and now has 4 flights under its wings. Plenty of power (It can hang on its prop's then climb out from the hover.)
Thanks again Quad Squad.
|
 |
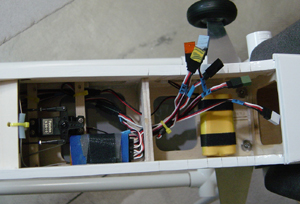
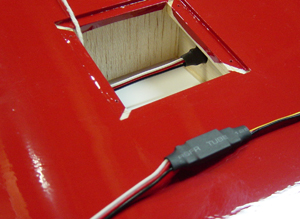
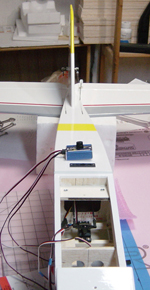
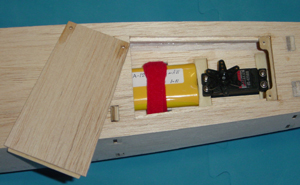
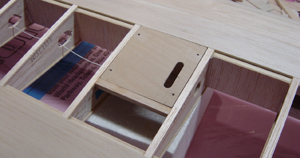
Receiver, rudder servo & battery in wing opening. Battery can be mounted in rear fus' hatch if required, for balance with other power options.
.
|
|
 |
|
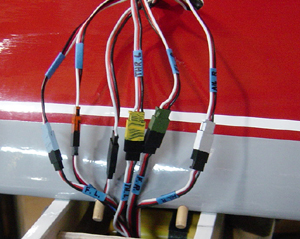
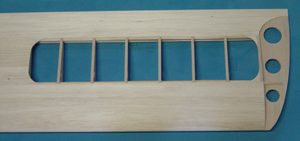
With covering complete, it's time to install the radio. Wing has 6 servo leads!
(2 aileron; 2 flap; 2 throttle)
All servo extensions are secured with shrink tubing or thread.
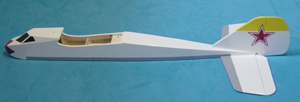
Then the rest of the insignia and trim is added. |
 |

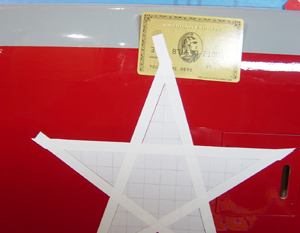
Top stars were made off the wing then applied once complete |
Covering of the fuselage starts with the fillers around the horizontal and vertical stabilizers. Then work forwards and up to end up with the best shingle effect. |
  |
 |
 |
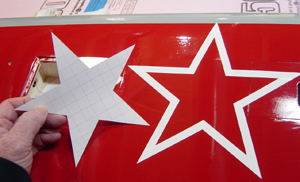
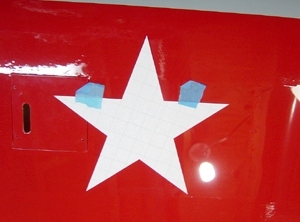
The lower stars are made from 1/4" white strip around a paper mask. Good use for credit card solicitations! Slide a card under the Monokote trim before sealing it and trim with #11 blade. |
4/18/11: The covering is complete. Here are some pictures of the process.
Starting with the lower wing surface and from the TE. 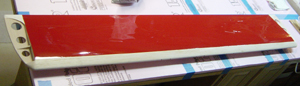
|

Add the white to the LE and white ailerons & flaps. |
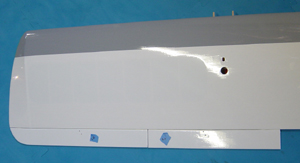
Then top surface in white first then gray forward area |
|
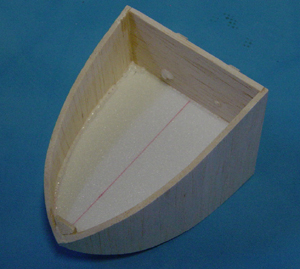
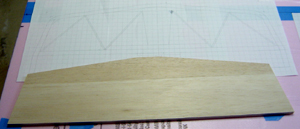
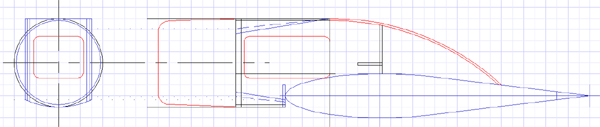
3/29/11: OK - so this is the light-weight, removable nose I concocted. It can be replaced by a firewall and engine if I want to test a single engine or motor. I have also made the battery/elevator servo hatch in the fuselage. The plane is ready for covering as soon as I figure out a color scheme.
|
|
 |
 |
 |
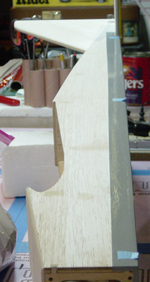
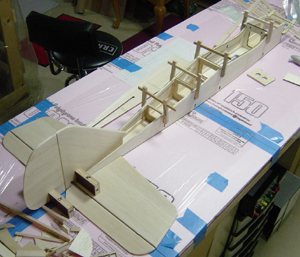
03/08/11: The fuselage build is moving along. Next is figuring out a "nose job" and then just how I want to install the rudder & elevator servos, battery and receiver to end up with reasonable balance point (25% to 30%). Looks like I need to install everything I can, towards the tail so it won't wind up nose-heavy.
|
Weight at this point is 6.5 lbs with everything but the nose, linkages and covering. I guess at a final weight of about 7.5lbs, so a wing loading of 17.6 oz per sq ft. Not light, but not heavy either. It is a twin .40, so reasonable I guess. |
One article I read about twins suggested the twin will be 2.5 to 4 lbs heavier than the equivalent single in a 46 to 60 size plane. I sure hope this does not end up being 4 lbs heavier than the original Quad Squad Ugly Briks! |
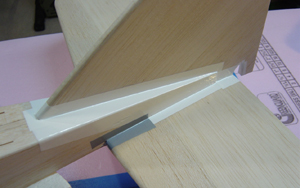
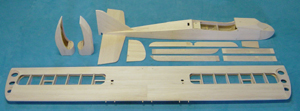
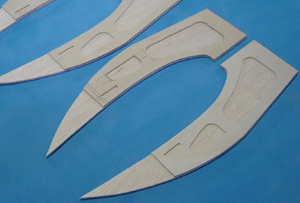
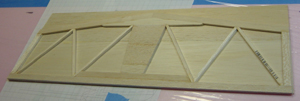
Building up the elevator & sanding to shape
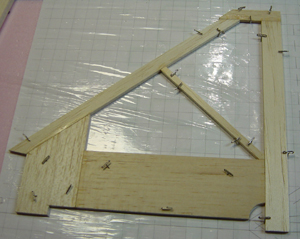
The fin frame (above) & rudder (below) 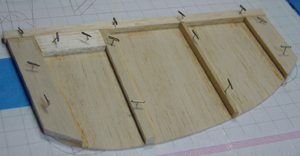
|
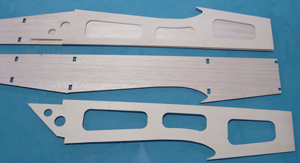
Lite ply fuselage doublers laminated to 1/8" sides 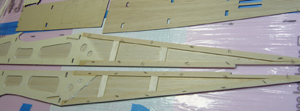
Dry-fitting to make sure it goes together ........ |
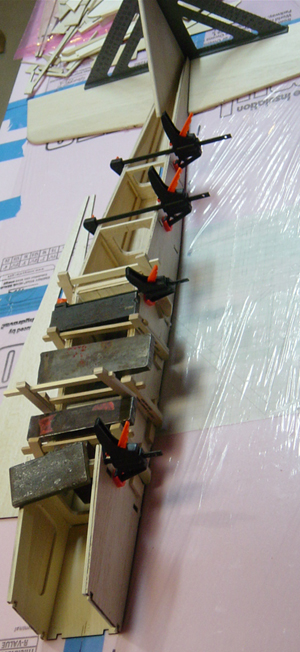
....... then glue now & forever hold the pieces! |

|
Temporarily placed the components for an early balance point check.
Looks like a tendency to be nose-heavy, but it will be close with the battery in a hatch in the rear of the fuselage.
<---- Starts to look like a plane
|
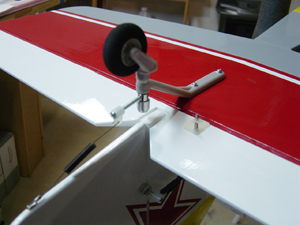
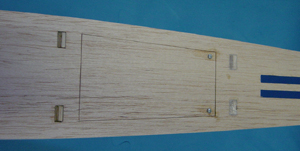
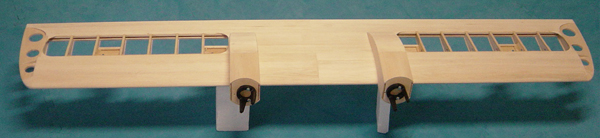
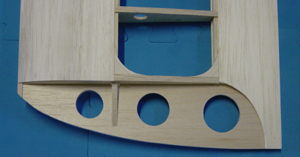
02/20/11: With the wing servo hatches done, all the wing needs now are servos attached and control surfaces hinged. |
 |
|
 |
 |
|
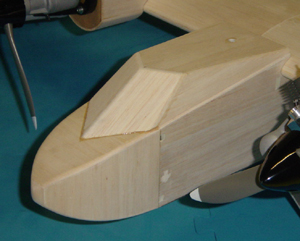
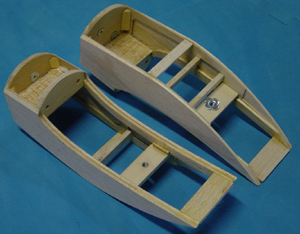
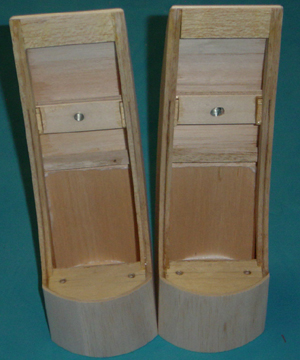
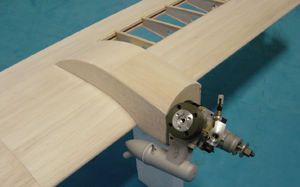
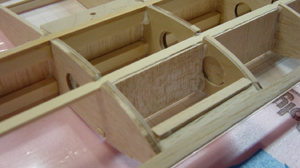
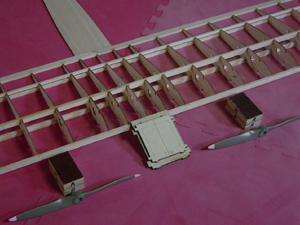
02/20/11: Time to work on the nacelles:
|
 |
|
 |
 |
|
 |
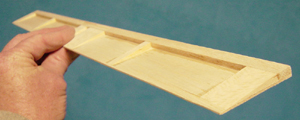
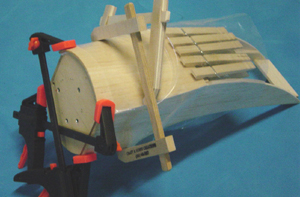
02/12/11: Wing planking is done - except underside center section, which will be completed after the nacelles are figured out. |
 |
|
I liked the idea that Lightning and Bottoms Up had to use polyurethane glue. Although the ooze-out is unsightly, it does fill voids and seems less of an impact on one's breathing. It also give me more set-up time than CA.
I still use some CA, epoxy, and Elmer's wood glue in some areas. The wing tips are installed using wood glue. |
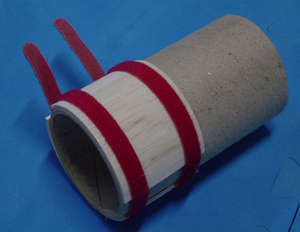
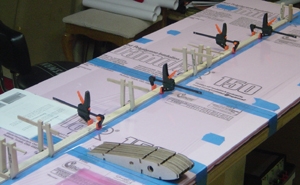
02/06/11: All shear webbing installed on main spar and front aux' spar which only goes out to the nacelle bays. Aux spars are 1/8 x 1/4 hardwood. They will help spread the engine load, especially on (hard) landings.
|
 |
|
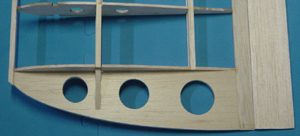
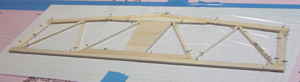
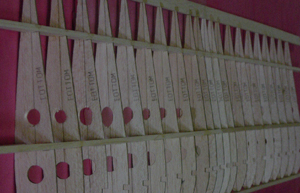
01/24/11: Built-up horizontal stab' .1/16" sheeting over 3/16" frame (5/16" total)
|
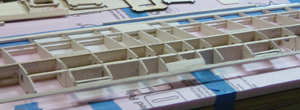
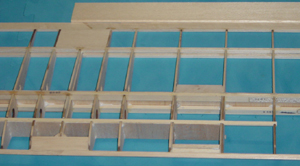
1/22/11: I have decided to build the wing for a twin engine option. The nacelles will contain the engines, fuel tanks and throttle servos and be removable. Center rib spacing is altered so the nacelles will attach between 2 ribs. |
|
Yup - All the ribs have "bottom" to the bottom!!!
 |
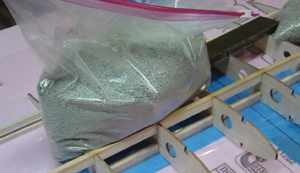
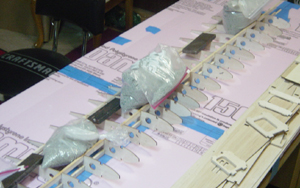
Picture shows the use of kitty litter in bags for weights. The weight can be spread out well using these.
 |
|
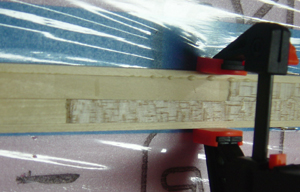
1/21/11- Finally making a start: Laminating the spars from hardwood and balsa (deviation from plans!)
|
1/4x1/8 hardwood goes full span; laminated to this is 1/4x3/8 hardwood center section (different lengths for top & bottom spars) scarf-joined to 1/4x3/8 balsa outboard sections. Both spars are laminated at the same time.
|

|
|
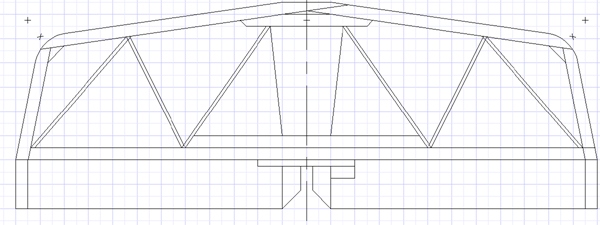
01/18/10:
Tossing around some ideas "on paper"
|
|
Dec 2010: Just waiting for the wood!!! |