Royal Airforce Museum - London
Pictures by Keith Jones
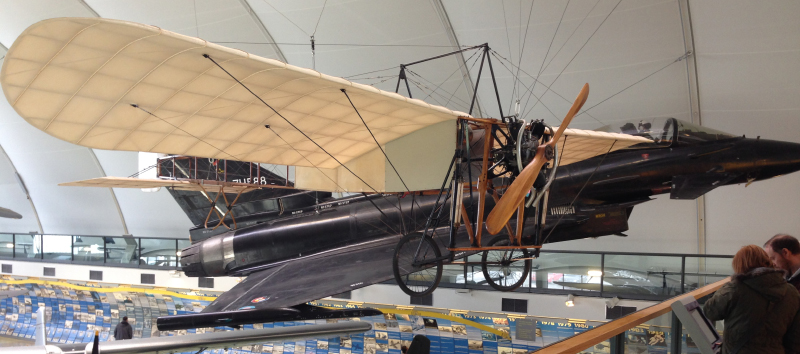
Bleriot XI